12 Years Manufacturer melamine divided plate for Bhutan Manufacturer
12 Years Manufacturer melamine divided plate for Bhutan Manufacturer Detail:
| Specification | |
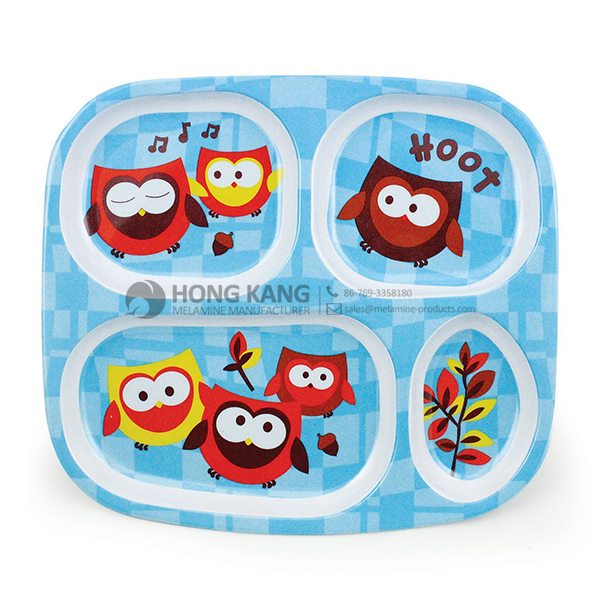
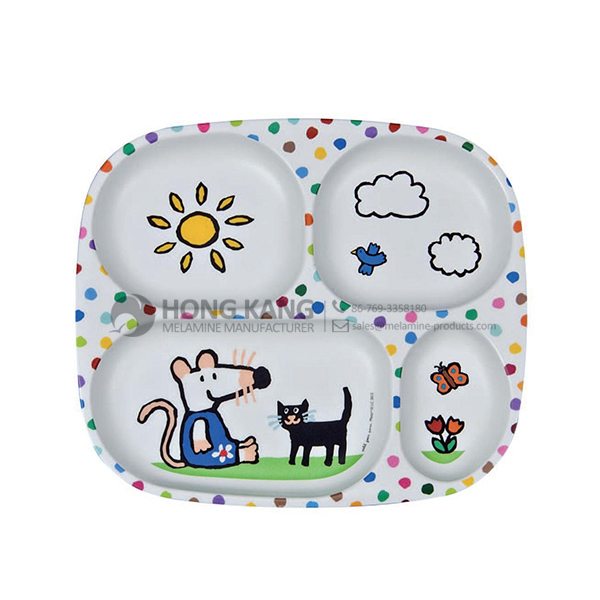
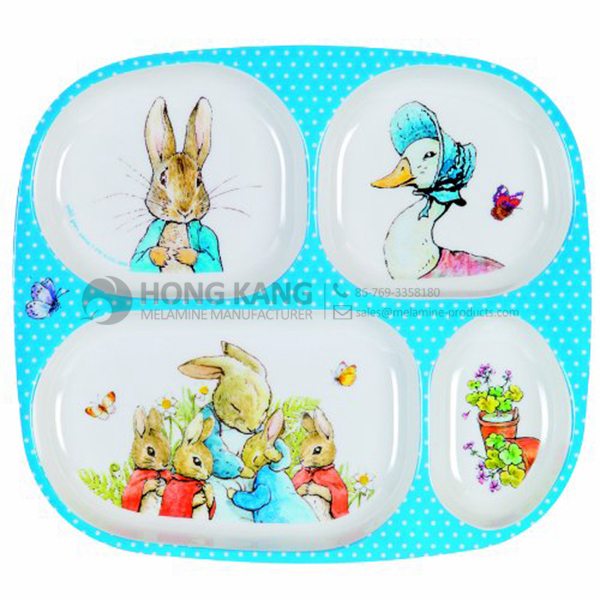
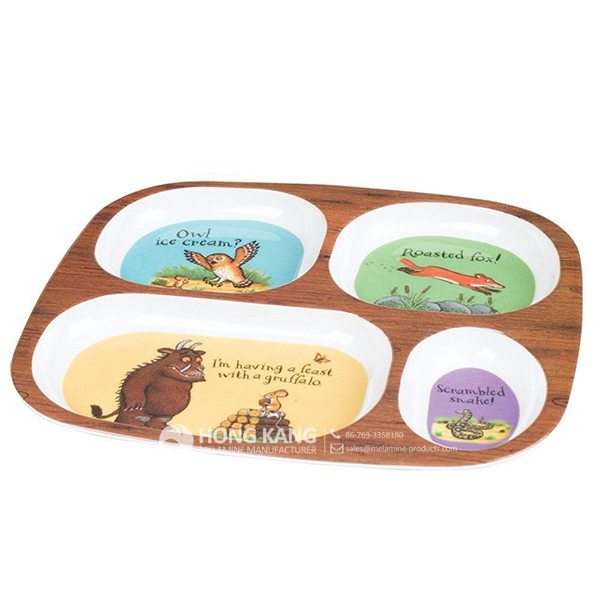
| Item Name | 9.375inch Melamine kids divided Plate |
| Item No. | PT207 |
| Shape | Rectangle |
| Body Color | White |
| Decal Color | 4 colors print |
| Finish | Glossy |
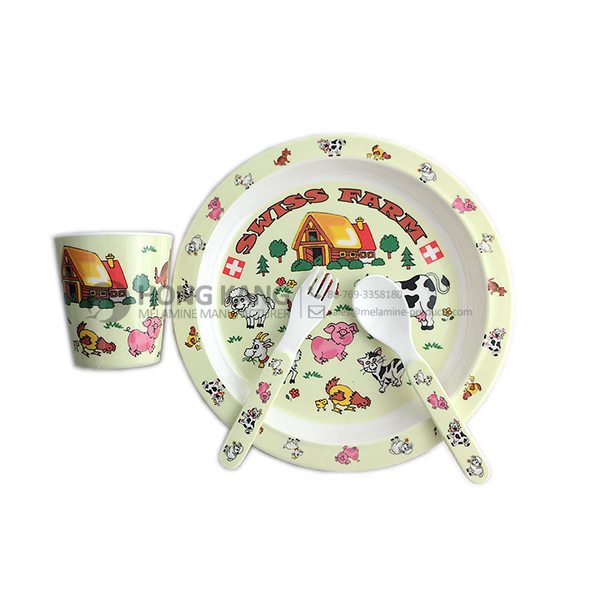
| Style | Kids |
| Motif Design | Customized |
| Shape Design | OEM/ODM |
| Test Standard | FDA,PROP 65,EN71,LFGB etc. by SGS or ITS |
| Packaging | 6pcs/box,24pcs/carton |
| Dimensions | |
| Length | 24 cm |
| Width | 21 cm |
| Height | 2.5 cm |
| Capacity | N/A |
| Material | |
| Body Material | 100%melamine |
| Decal Material (if need) | 4 colors print (CMYK), or spot color printing, RoHS certificate |
| Imprint (if need) | Seiko ink type 1000 or other type, RoHS certificate |
| Accessories Information | |
| Lid included | No |
| Other | No |
| Weights | |
| Net Weight (kg) | 7.7 |
| Shipping Weight (kg) | 9 |
Product detail pictures:
Related Product Guide:
Top Ten Power Toothbrushes
Benefits of Melamine Dinnerware
With our leading technology at the same time as our spirit of innovation,mutual cooperation, benefits and advancement, we will build a prosperous future with each other with your esteemed firm for 12 Years Manufacturer melamine divided plate for Bhutan Manufacturer, The product will supply to all over the world, such as: Amsterdam , Comoros , Bangkok , Our mission is to deliver consistently superior value to our customers and their clients. This commitment permeates everything we do, driving us to continuously develop and improve our products and the processes to fulfill your needs.
FAQ: 1.Q: Where is your factory located? How can I visit there? A: Our factory is located in Guangdong province, China. Warmly welcome to visit us! 2.Q: What is the material of your products? A: The material is melamine. 3.Q: How can I get some samples? A: We can send the samples by Express/DHL/FedEx/UPS etc. 4.Q: How does your company do regarding quality control? A: We have a very strict QC system. Our inspectors have been closely monitoring the production process from the selection of raw materials to the final step of the finished products. 5.Q: Can you print our logo on the product & packing? A: Yes, We can print your logo on our products. 
| * Do Not Touch On Fire Directly | |
|---|---|
| * Do Not Washing By Steelwire Ball | |
| * Non-Microwave Ovens | |
| * Dishwasher Safe |
For More Info or to Buy Now: http://www.hsn.com/products/seo/8126227?rdr=1&sourceid=youtube&cm_mmc=Social-_-Youtube-_-ProductVideo-_-491991
Margaritaville Lace Inset 3/4Sleeve Top
Here’s a top you’ll wear year round. Lightweight, garment washed and soft as can be, it pairs perfectly with palazzo pants and maxi skirts, your shortest…
Prices shown on the previously recorded video may not represent the current price. View hsn.com to view the current selling price. HSN Item #491991
The factory has advanced equipment, experienced staffs and good management level, so product quality had assurance, this cooperation is very relaxed and happy!