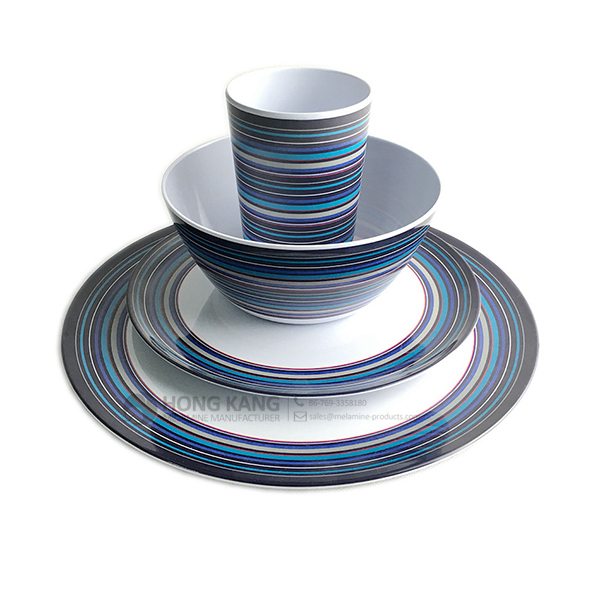
Best Price for melamine dinnerware set for Milan Factories
Best Price for melamine dinnerware set for Milan Factories Detail:
| Specification | |
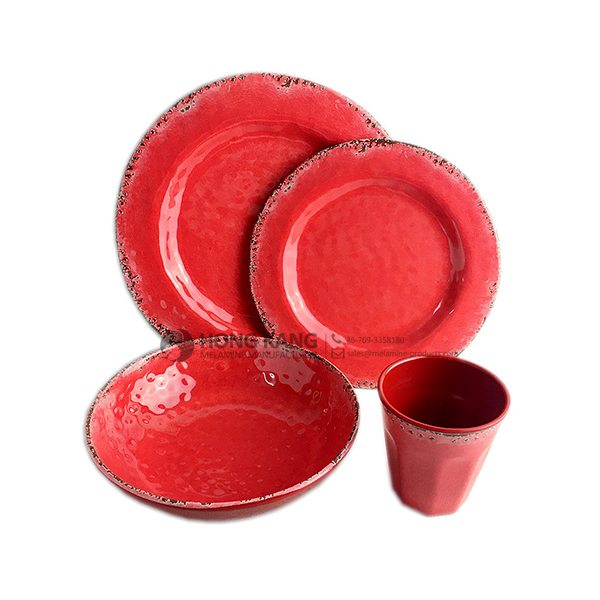
| Item Name | 4pcs Melamine Dinnerware Set |
| Item No. | TZ008 |
| Shape | Round |
| Body Color | Red |
| Decal Color | 4 colors print (if need) |
| Finish | Glossy |
| Style | Fashion |
| Motif Design | Customized |
| Shape Design | OEM/ODM |
| Test Standard | FDA,PROP 65,EN71,LFGB etc. by SGS or ITS |
| Packaging | 6sets/carton |
| Dimensions | |
| Length | 30 cm |
| Width | 30 cm |
| Height | 10 cm |
| Capacity | N/A |
| Material | |
| Body Material | 100%melamine |
| Decal Material (if need) | 4 colors print (CMYK), or spot color printing, RoHS certificate |
| Imprint (if need) | Seiko ink type 1000 or other type, RoHS certificate |
| Accessories Information | |
| Lid included | No |
| Other | No |
| Weights | |
| Net Weight (kg) | 6.2 |
| Shipping Weight (kg) | 7.2 |
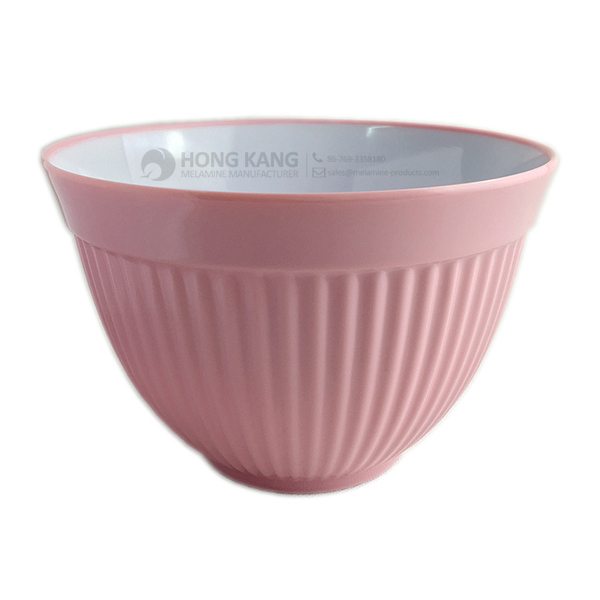
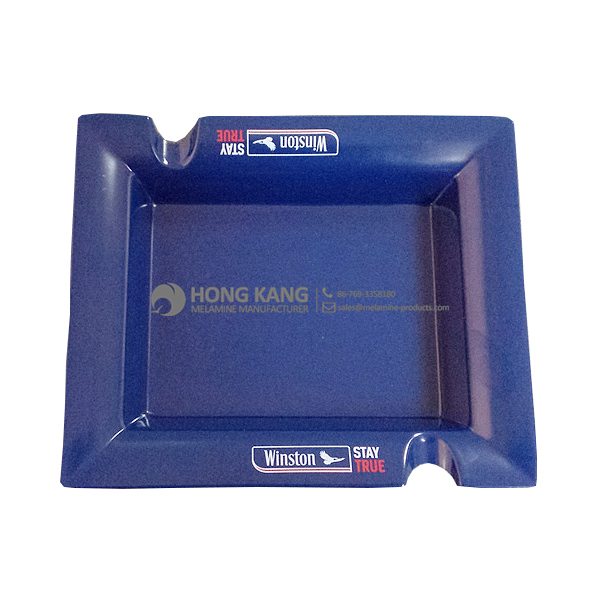
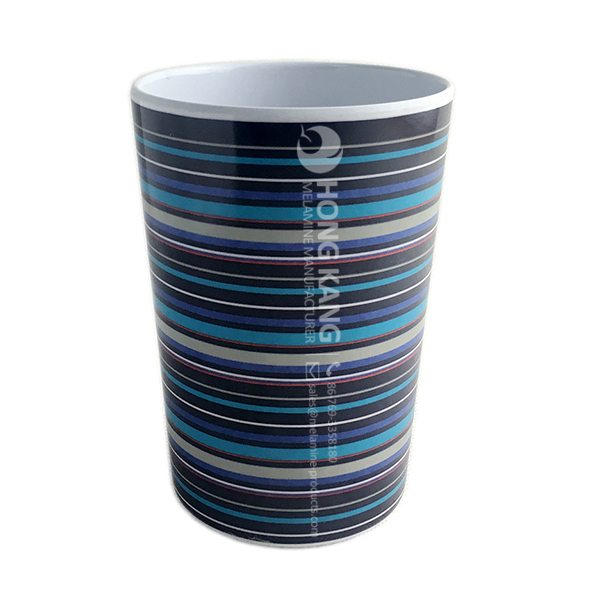
Product detail pictures:
Related Product Guide:
The Benefits Of Using Silicone Kitchen Utensils
Choosing The Best Dog Bowl and Feeder for Your Dog
We usually keep on with the principle "Quality To start with, Prestige Supreme". We've been fully committed to offering our purchasers with competitively priced excellent solutions, prompt delivery and skilled support for Best Price for melamine dinnerware set for Milan Factories, The product will supply to all over the world, such as: Vietnam , Manila , Romania , As operation principle is "be market-oriented , good faith as principle, win-win as objective", holding on "customer first, quality assurance, service first" as our purpose, dedicated to provide the original quality, create excellence service , we won the praise and trust in the industry of auto parts. In the future, We will provide quality product and excellent service in return to our customers , welcome any suggestions and feedback from all over the world.
FAQ: 1.Q: Where is your factory located? How can I visit there? A: Our factory is located in Guangdong province, China. Warmly welcome to visit us! 2.Q: What is the material of your products? A: The material is melamine. 3.Q: How can I get some samples? A: We can send the samples by Express/DHL/FedEx/UPS etc. 4.Q: How does your company do regarding quality control? A: We have a very strict QC system. Our inspectors have been closely monitoring the production process from the selection of raw materials to the final step of the finished products. 5.Q: Can you print our logo on the product & packing? A: Yes, We can print your logo on our products. 
| * Do Not Touch On Fire Directly | |
|---|---|
| * Do Not Washing By Steelwire Ball | |
| * Non-Microwave Ovens | |
| * Dishwasher Safe |
Playlist – https://www.youtube.com/playlist?list=PLYPdwomiSITzJ1V1PwDhMYctCOWnN2l6h
In this episode of Good Life features Crystal glassware collection. Good Life is a lifestyle show on Rosebowl. The show, through it’s three sections discusses the latest fashion trends, home décor ideas and food.
High Quality, High Efficiency, Creative and Integrity, worth having long-term cooperation! Looking forward to the future cooperation!