Best Price on melamine dinner plate to Peru Importers
Best Price on melamine dinner plate to Peru Importers Detail:
Specification | |
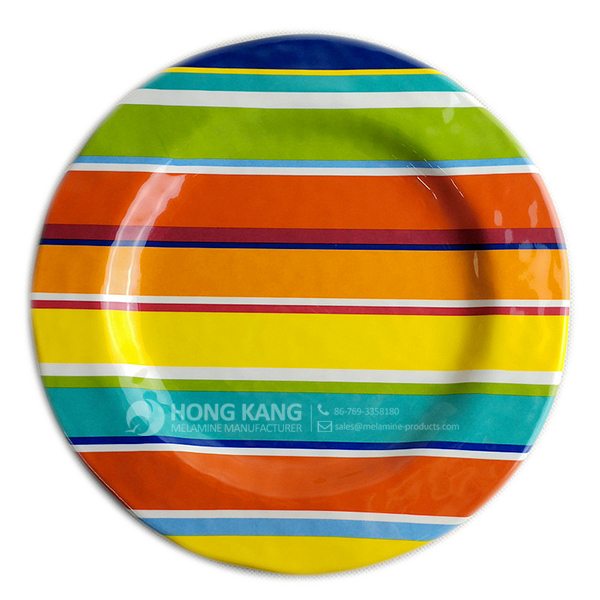
Item Name | 9inch Round Melamine Dinner Plate |
Item No. | PT201 |
Shape | Round |
Body Color | White |
Decal Color | 4 colors print |
Finish | Glossy |
Style | Fashion |
Motif Design | Customized |
Shape Design | OEM/ODM |
Test Standard | FDA,PROP 65,EN71,LFGB etc. by SGS or ITS |
Packaging | 6pcs/box,24pcs/carton |
Dimensions | |
Length | 22.7 cm |
Width | 22.7 cm |
Height | 1.7 cm |
Capacity | N/A |
Material | |
Body Material | 100%melamine |
Decal Material (if need) | 4 colors print (CMYK), or spot color printing, RoHS certificate |
Imprint (if need) | Seiko ink type 1000 or other type, RoHS certificate |
Accessories Information | |
Lid included | No |
Other | No, |
Weights | |
Net Weight (kg) | 7.8 |
Shipping Weight (kg) | 9 |
Product detail pictures:
Related Product Guide:
Top Ten Power Toothbrushes
Benefits of Melamine Dinnerware
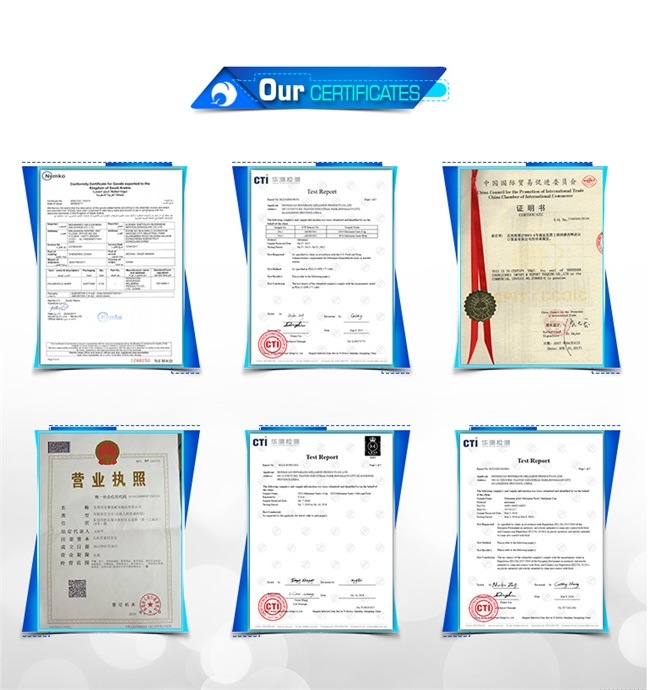
We are experienced manufacturer. Wining the majority of the crucial certifications of its market for Best Price on melamine dinner plate to Peru Importers, The product will supply to all over the world, such as: Curacao , Barcelona , Sierra Leone , Since the establishment of our company, we've realized the importance of providing good quality goods and the best before-sales and after-sales services. Most problems between global suppliers and clients are due to poor communication. Culturally, suppliers can be reluctant to question points they do not understand. We break down these barriers to ensure you get what you want to the level you expect, when you want it.
FAQ: 1.Q: Where is your factory located? How can I visit there? A: Our factory is located in Guangdong province, China. Warmly welcome to visit us! 2.Q: What is the material of your products? A: The material is melamine. 3.Q: How can I get some samples? A: We can send the samples by Express/DHL/FedEx/UPS etc. 4.Q: How does your company do regarding quality control? A: We have a very strict QC system. Our inspectors have been closely monitoring the production process from the selection of raw materials to the final step of the finished products. 5.Q: Can you print our logo on the product & packing? A: Yes, We can print your logo on our products.
* Do Not Touch On Fire Directly | |
---|---|
* Do Not Washing By Steelwire Ball | |
* Non-Microwave Ovens | |
* Dishwasher Safe |
Watch the full episode: https://www.youtube.com/watch?v=Mz8l5nSyKkU
Host Kevin O’Connor helps a homeowner refinish his kitchen cabinets. (See below for a shopping list, tools, and steps.)
Click here to SUBSCRIBE to the official This Old House YouTube channel: http://www.youtube.com/subscription_center?add_user=thisoldhouse
Shopping List for How to Paint Kitchen Cabinets Without Stripping:
- Cabinet refinishing kit
- Latex gloves, to protect your hands
- Masking tape and felt-tip marker, to label cabinet doors and drawers.
- Nylon fiber scouring pad, for applying the deglosser
- Plastic-lined canvas drop cloths, to protect surfaces during refinishing
- Cotton rags
Tools List for How to Paint Kitchen Cabinets Without Stripping:
- Cordless drill
- Screwdriver
- Putty knife, to scrape bumpers from cabinet doors
- 2-inch-wide synthetic-bristle paintbrush, used to apply the bond coat and topcoat
Steps for How to Paint Kitchen Cabinets Without Stripping:
1. Make a sketch of the kitchen cabinets, then identify each door and drawer with a number.
2. Place a small strip of masking tape onto each door and drawer, then mark the strips with the corresponding number shown on the sketch.
3. Use a cordless drill to unscrew all the doors from the cabinets.
4. Unscrew and remove the door hinges.
5. Remove all the drawers from the cabinets.
6. Use a putty knife to scrape any rubber bumpers from the back side of the doors.
7. Unpeel the tape from one of the doors and then scrub its surface with a scouring pad dampened with deglosser. (If any doors or face frames have a coating of greasy, oily residue, wash them clean with hot, soapy water prior to deglossing.)
8. Wipe down the door with a cotton rag soaked in clean water.[BR]
9. Dry the door with a clean, dry cotton rag, then flip the door over.
10. Repeat the previous two steps to degloss the back surface of the door.
11. Cover appliances and counters with plastic-lined canvas drop cloths.
12. Use the scouring pad and deglosser to scrub the surfaces of the face frames on the upper and lower cabinets.
13. Wash the face frames clean with a water-soaked rag, then wipe the frames dry.
14. Wait one hour before proceeding.
15. Remove all the drawer faces, then degloss and wash each one.
16. Protect the wall around the cabinets and all other adjacent surfaces with masking tape.
17. Use a 2-inch-wide synthetic-bristle paintbrush to apply the first bond coat to all the cabinet doors, drawers, and face frames.
18. Allow the first bond coat to dry for 2 hours.
19. Flip over the doors and apply a bond coat to their back surfaces. Wait another two hours.
20. Repeat the previous three steps to apply a second bond coat to both sides of each door and to the drawer faces and face frames.
21. Brush on the protective top coat of polyurethane to all surfaces of the doors, drawers, and face frames. Allow the top coat to dry for 12 hours.
22. Screw the hinges back onto the doors, then mount the doors to the cabinets.
23. Install the door pulls.
24. Reattach the drawer faces and slide the drawers back into the cabinets.
Follow This Old House and Ask This Old House:
Facebook: https://www.facebook.com/ThisOldHouse
Twitter: https://twitter.com/thisoldhouse
https://twitter.com/asktoh
Pinterest: http://www.pinterest.com/thisoldhouse/
G+: https://plus.google.com/+thisoldhouse/posts
Instagram: http://instagram.com/thisoldhouse
Tumblr: http://thisoldhouse.tumblr.com/
By Florence from Luxemburg - 2016.08.21 14:13
The factory technical staff gave us a lot of good advice in the cooperation process, this is very good, we are very grateful.
By Michelle from Porto - 2016.11.20 15:58