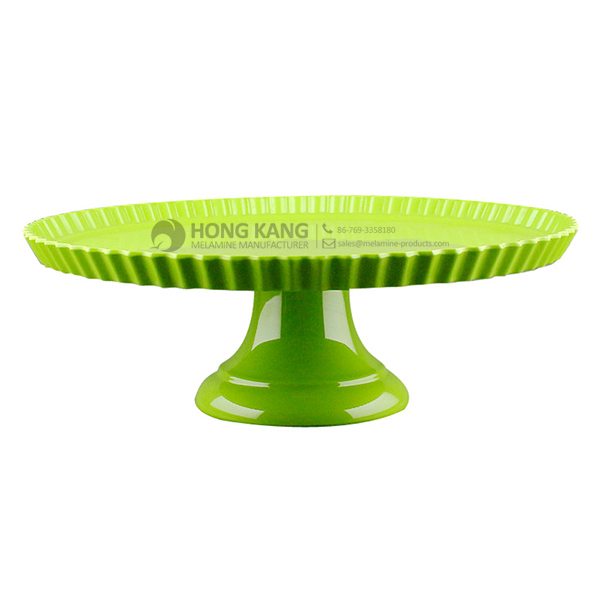
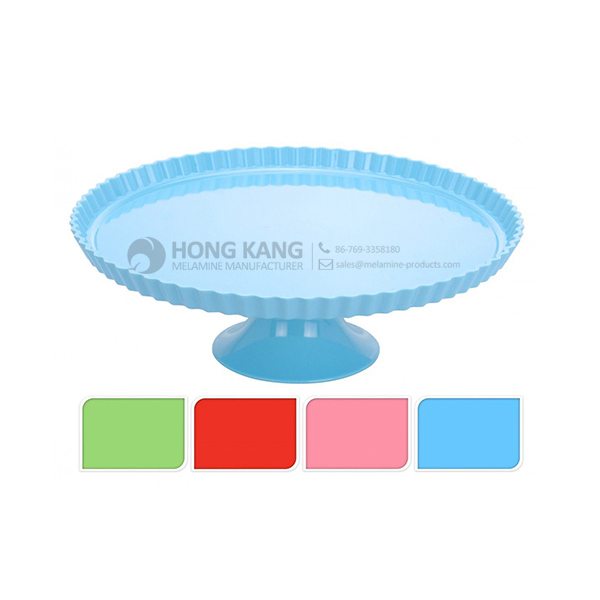
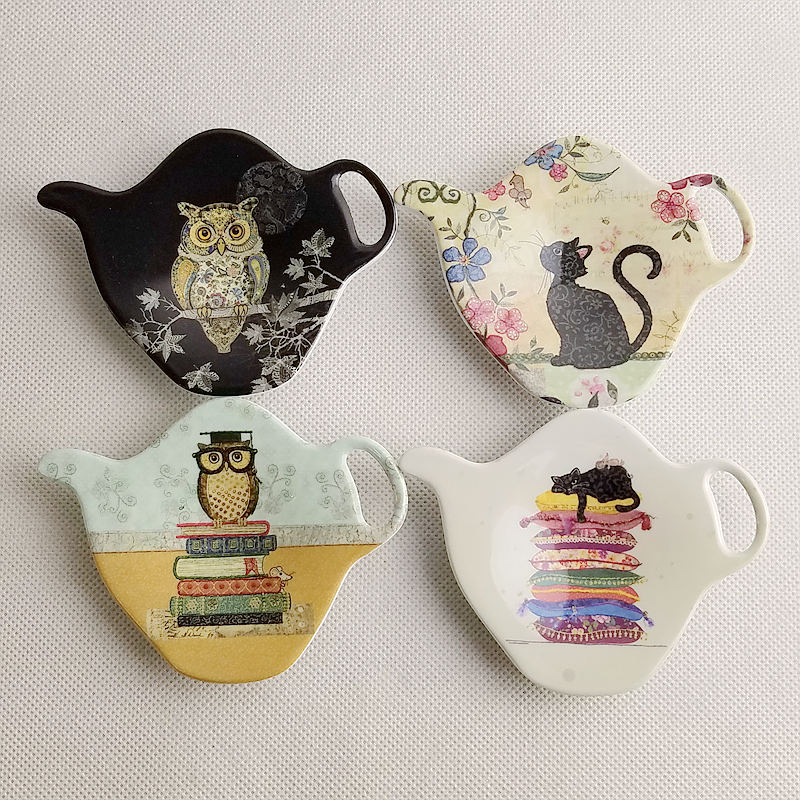
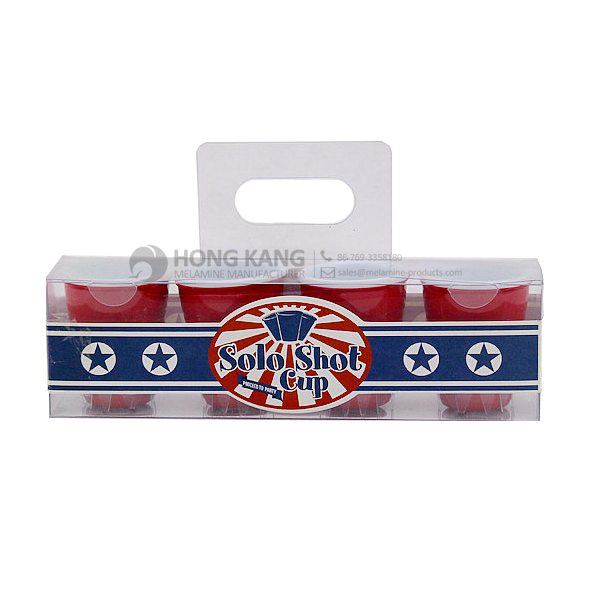
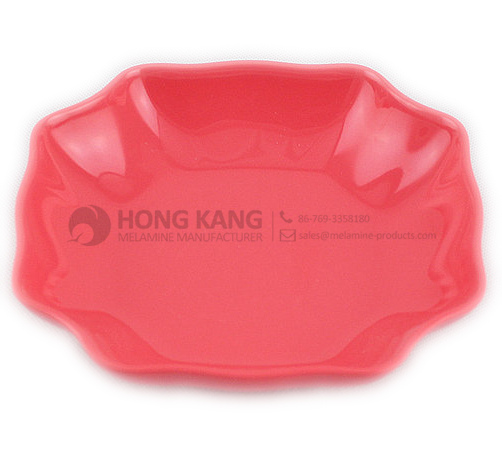
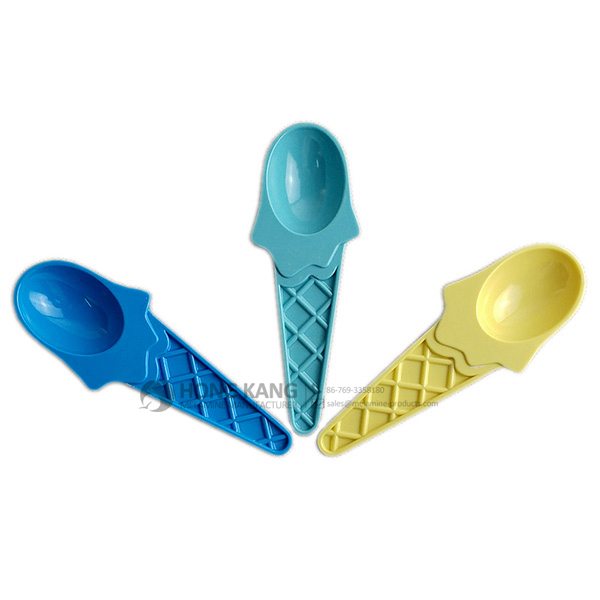
Big discounting melamine cake stand to Kuala Lumpur Factory
Big discounting melamine cake stand to Kuala Lumpur Factory Detail:
Specification | |
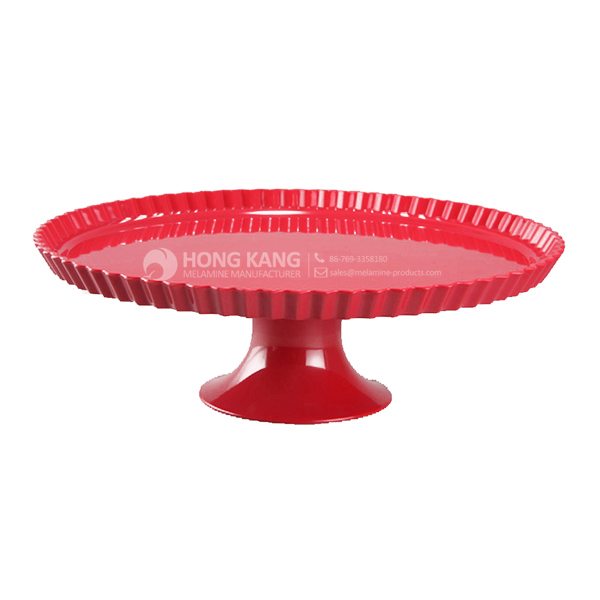
Item Name | 13.75inch Melamine Cake Stand |
Item No. | TR001 |
Shape | Round |
Body Color | Colorful |
Decal Color | 4 colors print |
Finish | Glossy |
Style | Fashion |
Motif Design | Customized |
Shape Design | OEM/ODM |
Test Standard | FDA,PROP 65,EN71,LFGB etc. by SGS or ITS |
Packaging | 1pcs/box,2pcs/carton |
Dimensions | |
Length | 35 cm |
Width | 35 cm |
Height | 15 cm |
Capacity | N/A |
Material | |
Body Material | 100%melamine |
Decal Material (if need) | 4 colors print (CMYK), or spot color printing, RoHS certificate |
Imprint (if need) | Seiko ink type 1000 or other type, RoHS certificate |
Accessories Information | |
Lid included | No |
Other | No |
Weights | |
Net Weight (kg) | 1.4 |
Shipping Weight (kg) | 2.5 |
Product detail pictures:
Related Product Guide:
Benefits of Melamine Dinnerware
Choosing The Best Dog Bowl and Feeder for Your Dog
With a sound business credit, excellent after-sales service and modern manufacturing facilities, we have earned an excellent reputation among our customers across the world for Big discounting melamine cake stand to Kuala Lumpur Factory, The product will supply to all over the world, such as: Cairo , Madras , Greece , Our staffs are rich in experience and trained strictly, with professional knowledge, with energy and always respect their customers as the No. 1, and promise to do their best to provide the effective and individual service for customers. The Company pays attention to maintaining and developing the long-term cooperation relationship with the customers. We promise, as your ideal partner, we will develop a bright future and enjoy the satisfying fruit together with you, with persisting zeal, endless energy and forward spirit.
FAQ: 1.Q: Where is your factory located? How can I visit there? A: Our factory is located in Guangdong province, China. Warmly welcome to visit us! 2.Q: What is the material of your products? A: The material is melamine. 3.Q: How can I get some samples? A: We can send the samples by Express/DHL/FedEx/UPS etc. 4.Q: How does your company do regarding quality control? A: We have a very strict QC system. Our inspectors have been closely monitoring the production process from the selection of raw materials to the final step of the finished products. 5.Q: Can you print our logo on the product & packing? A: Yes, We can print your logo on our products.
* Do Not Touch On Fire Directly | |
---|---|
* Do Not Washing By Steelwire Ball | |
* Non-Microwave Ovens | |
* Dishwasher Safe |
How To Make Concrete Planters | DIY Build Cement Containers http://blackthumbgardener.com In this video I walk you through building your own concrete planters. I start with a quick little intro about what we’ll be doing and then go into the supplies you will need. After talking about the supplies you’ll need for the cement containers I talk a little bit about the math I used to figure out how much concrete I will use to make my planters. You’ll watch as I fill my plastic containers with the cement and mix in the water. Once the concrete was mixed thoroughly I pressed my second container into the first container to create the cavity in the planter. I also show how I cured the concrete planter.
I suggest subscribing to my channel to get updates when I show you how to stain and dye these concrete planters.
Learn how to build an outdoor patio bar with an acid stained concrete top. In part 1 Pete will show you how to build a concrete bar top mold, pour concrete, create a trowel finish, and seal a concrete bar top. For the complete and free bar plans go to
For more info, project photos, and downloadable plans check out:
http://www.diypete.com/patiotable
Download Plans: https://gumroad.com/l/patiobar
*Note that these are affiliate links, meaning that when you buy something that is recommended below, it helps support the Channel. Thanks in advance!
*Tools Needed
Power Drill – http://amzn.to/1OxMfnt
Orbital Sander – http://amzn.to/1VUVNYy
Circular Saw – http://amzn.to/1OxNa7k
Table Saw (optional) – http://amzn.to/1X7Eje5
12″ Miter Saw (optional) – http://amzn.to/1VUVo8s
Jig Saw – http://amzn.to/1ZGFCTf
Bolt Cutter – http://amzn.to/1OxNcfe
Concrete Trowel – http://amzn.to/1LwkIAe
Measure and then cut the Melamine wood to size using a circular saw. Use a jig saw if needed to cut hard to reach areas. Cut the sidewalls for the concrete bar mold using a table saw or circular saw. I cut mine to 3 3/4 inches wide. This gave me a nice bold looking concrete top that was a total of 3 inches thick. The extra 3/4 of an inch is to compensate for the base of the mold.
Layout the sidewalls of the mold to make sure everything fits correctly. Attach the sidewalls to the base using 1 1/2 inch drywall screws. Pre-drill prior to inserting the screw.
Use a knife to cut 1 1/2 inch thick foam for the knockout in your mold. It will be slightly smaller than the mold. There is a 1 inch channel around the entire perimeter between the foam and the sidewalls. This will allow concrete to form around the foam and to create a lip. Your concrete counter will look like it is 3 inches thick throughout. However, it will only be 1 1/2 inches thick where the foam is placed. Thus, you’ll reduce the weight of the countertop dramatically and will not have to purchase as much concrete.
The foam I used had a metallic backing. Please note that any foam will work. I bought smaller project sized pieces and then used packing tape to piece them together. I also sealed all the edges of the foam with clear packing tape so the foam would release from the concrete easily.
Cut re-enforcement for the concrete down to size. It typically comes in 4×8 sheets at Home Depot. Seal the joints in your mold with 100% silicon caulk. Use silicon to adhere the foam to the base of the mold as well. Let the silicon dry before adding the concrete.
Mix up your concrete 1 bag at a time. I’d recommend using Quikrete Counter Top mix. If you can’t find countertop mix, Quikrete 5000 will work. The countertop mix consists of finer aggregate and is much easier to create a perfect hard trowel finish with. Mix the concrete with a hoe or a shovel. Add water until it is about a cookie dough type consistency.
Add the concrete to the mold. Use a shovel, bucket, or your hands to pack it into the counter top mold. Use your hands and fingers to pack the concrete into all areas of the mold. Make sure to wear rubber gloves whenever handling concrete. Fill the mold half full with concrete. Then place the re-enforcement in the concrete. Make sure it is as flat as possible. Then continue adding concrete until the mold is full.
Screed the concrete using a 2×4. Simply move the 2×4 in a saw-like motion back and forth. This will level out the concrete. Fill in low spots as needed and screed from one side to another until the concrete in the mold is as level as possible. Use a trowel to smooth the concrete for the first time. If you have a float, you can use it to help bring more “cream” to the surface which helps make the hard troweling process a bit easier.
This is one of the most important steps. I like to compare it to watching the grill so you get a perfect medium rare steak for dinner. Except with this, it takes a lot longer and you don’t get to eat a steak. Anyhow, let the concrete firm up for a few hours and check it every half hour because curing time will depend on temperature, humidity, the amount of water used, and the concrete mix. Use a finger to test the firmness. If it leaves a small dimple and you don’t get any water or concrete on your finger it is ready to remove the sidewalls and trowel.
Slowly remove the sidewalls. If the concrete sags make sure to put the sidewalls back on and to wait longer. Once the sidewalls are off you can smooth out the edges and fill any bugholes with extra concrete…
—-
Looking for more DIY videos? Be sure to check out our channel and subscribe for updates! We post a weekly tutorial every Thursday.
Looking for woodworking, concrete working, and other DIY projects plans to follow? You can download plans for free at http://gumroad.com/DIYPETE
Facebook: http://facebook.com/DiyProjectsWithPete
Instagram: http://instagram.com/diypete
Pete Sveen
1627 W Main Street Suite 182
Bozeman, Montana 59715
By Adelaide from Morocco - 2016.11.29 11:09
Customer service staff and sales man are very patience and they all good at English, product's arrival is also very timely, a good supplier.
By Ingrid from Malawi - 2016.07.07 13:00