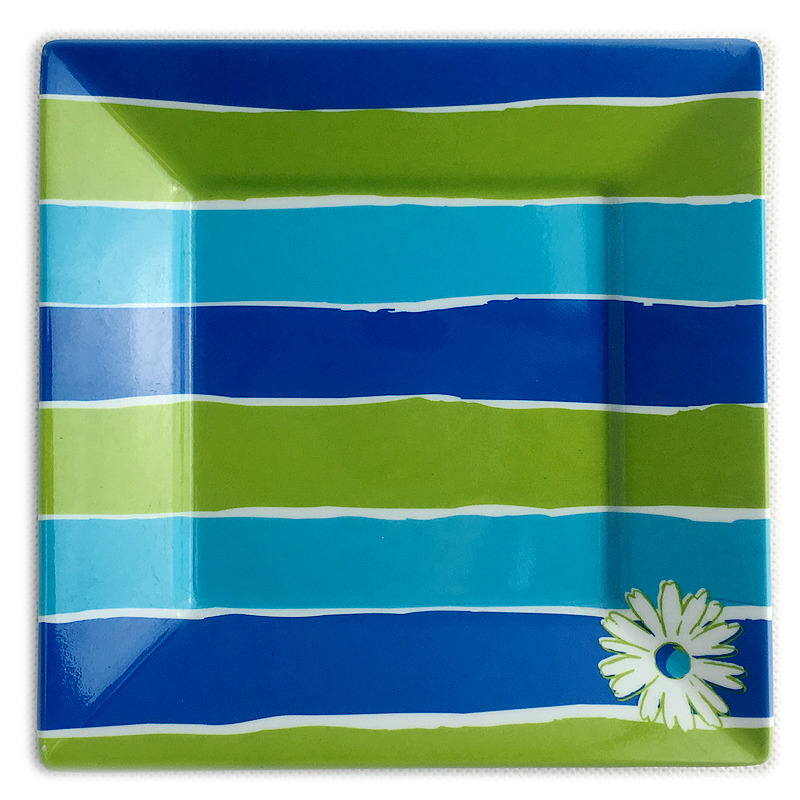
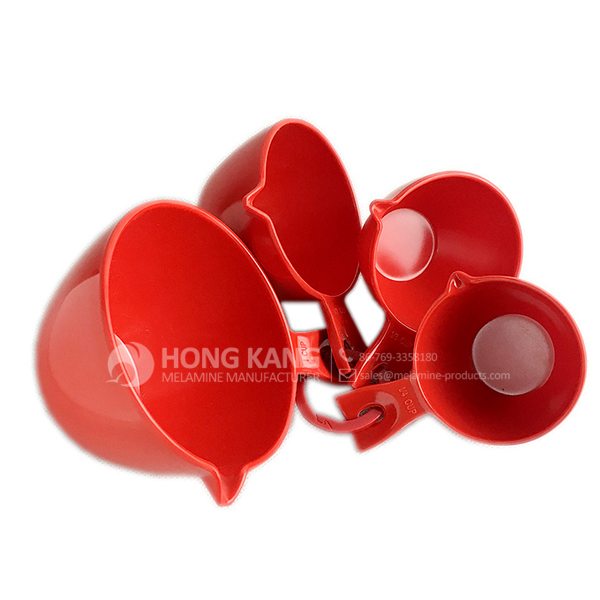
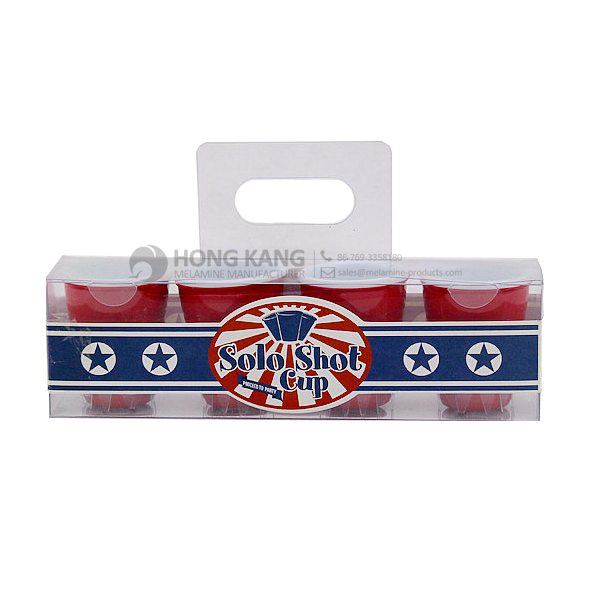
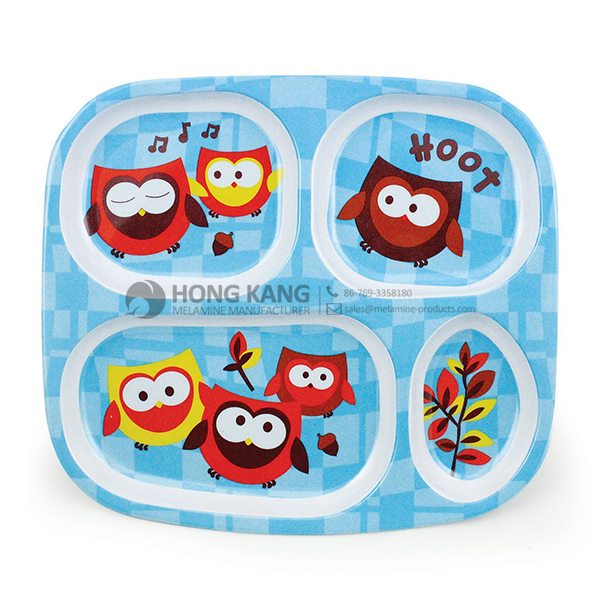
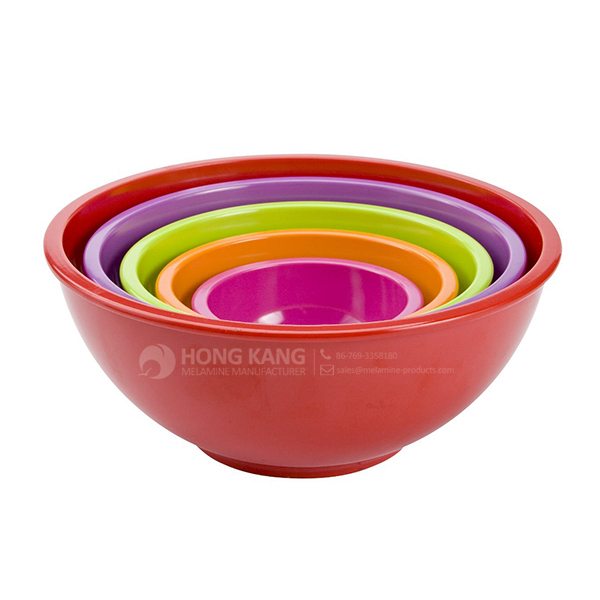
Cheap PriceList for melamine dog bowl for United Arab Emirates Factories
Cheap PriceList for melamine dog bowl for United Arab Emirates Factories Detail:
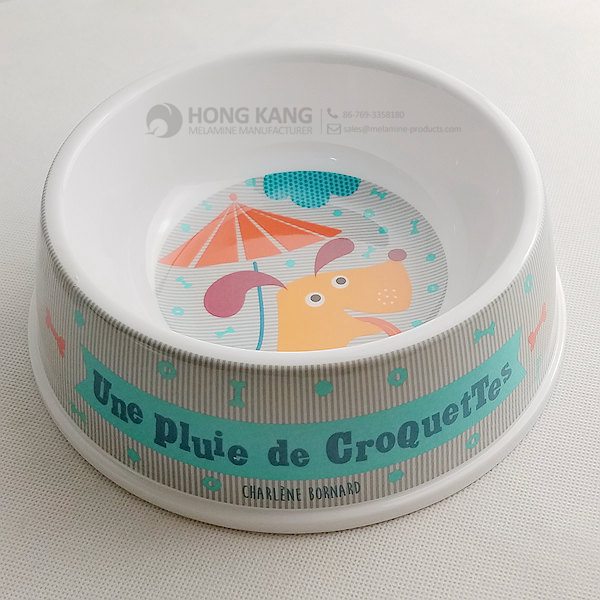
| Specification | |
| Item Name | 7inch Melamine Dog Bowl |
| Item No. | PE020 |
| Shape | Round |
| Body Color | White |
| Decal Color | 4 colors print (if need) |
| Finish | Glossy |
| Style | Fashion |
| Motif Design | Customized |
| Shape Design | OEM/ODM |
| Test Standard | FDA,PROP 65,EN71,LFGB etc. by SGS or ITS |
| Packaging | 6pcs/box,48pcs/carton |
| Dimensions | |
| Length | 17 cm |
| Width | 20.4 cm |
| Height | 6.5 cm |
| Capacity | N/A |
| Material | |
| Body Material | 100%melamine |
| Decal Material (if need) | 4 colors print (CMYK), or spot color printing, RoHS certificate |
| Imprint (if need) | Seiko ink type 1000 or other type, RoHS certificate |
| Accessories Information | |
| Lid included | No |
| Other | No |
| Weights | |
| Net Weight (kg) | 10.5 |
| Shipping Weight (kg) | 11.8 |
Product detail pictures:

Related Product Guide:
Top Ten Power Toothbrushes
Affordable Types of Dinnerware Sets
Our staff are usually in the spirit of "continuous improvement and excellence", and while using the top-quality high-quality items, favorable value and superior after-sales services, we try to acquire each and every customer's belief for Cheap PriceList for melamine dog bowl for United Arab Emirates Factories, The product will supply to all over the world, such as: Georgia , Bandung , Jordan , In order to meet our market demands, we have paied more attention to the quality of our products and services. Now we can meet customers' special requirements for special designs. We persistently develop our enterprise spirit "quality lives the enterprise, credit assures cooperation and keep the motto in our minds: customers first.
FAQ: 1.Q: Where is your factory located? How can I visit there? A: Our factory is located in Guangdong province, China. Warmly welcome to visit us! 2.Q: What is the material of your products? A: The material is melamine. 3.Q: How can I get some samples? A: We can send the samples by Express/DHL/FedEx/UPS etc. 4.Q: How does your company do regarding quality control? A: We have a very strict QC system. Our inspectors have been closely monitoring the production process from the selection of raw materials to the final step of the finished products. 5.Q: Can you print our logo on the product & packing? A: Yes, We can print your logo on our products. 
| * Do Not Touch On Fire Directly | |
|---|---|
| * Do Not Washing By Steelwire Ball | |
| * Non-Microwave Ovens | |
| * Dishwasher Safe |
Product Test time and in this video I am testing out the Magic Sponge on watercolour. You might have also seen this foam being called Magic Eraser, it is a Melamine foam which is a very abrasive, like a super fine sandpaper, that can lift dry watercolour paint from paper.
I thought it would be fun to try it out and share the results. Oh and keep your eye out for a sneak peek of one of my new designs for PaperArtsy!
If you enjoy my videos please like them and subscribe to my channel! Thank you!
Enjoy the film!
(I do use affiliate links and there are some included in this post. To learn more about my policy on affiliate links please visit my Disclaimers and Disclosures page http://goo.gl/SiUE5d)
PRODUCTS I HAVE USED:
Magic Sponge http://amzn.to/2k1KCkQ
Fabriano Classico 5 Fat Pad 300g/m (140lb) http://amzn.to/2k1IBdm
Bockingford Watercolour paper cold press http://amzn.to/2kqykFV
Cardstock Smooth 290g/m https://goo.gl/1BJRkJ
Winsor and Newton Watercolours http://amzn.to/2k1HqFG
Prima Marketing Watercolor Confections Watercolor http://amzn.to/2kMBZPx
Tim Holtz Distress Crayons Set http://amzn.to/2ljAMzR
Crayola Twistables Slick Stix 12 pack (Amazon http://amzn.to/1YbeIk9)
Crayola Twistables Slick Stix 5 pack (Amazon http://amzn.to/1YbdQfp)
Tim Holtz Distress Stain http://amzn.to/2kGDmwA
Tim Holtz Ditress Ink http://amzn.to/2k1IJo6
SUBSCRIBE TO MY BLOG TODAY: http://goo.gl/zQspCc
FIND ME ON SOCIAL MEDIA:
Blog http://www.kimdellow.co.uk/
Instagram https://www.instagram.com/kimdellow/
Facebook https://www.facebook.com/KimDellowDesign/
Pinterest https://uk.pinterest.com/kim_dellow/
Twitter https://twitter.com/KimDellow
G+ https://plus.google.com/+KimDellow/
How to make a concrete coffee table, the process of creating an old world concrete style table out of concrete. This concrete table has a hard trowel finish and is colored with acid stains.
For more info, project photos, and downloadable plans check out:
http://www.diypete.com/oldworldtable
Determine the size of table you’d like to make.
The table top Dustin and I made was 48 inches by 36 inches. The concrete thickness is 1.5 inches and the overall height of the table with the base is 18 inches.
Cut the bottom of the mold out of melamine or plywood.
This piece should be the exact width and length you’d like the concrete table to be. After cutting the base you’ll need to cut the strips. For a 1.5 inch thick top the strips will need to be 2 1/4 inches tall. This accommodates for the 3/4 inch base.
Assemble the sidewalls to the mold
Attach the sidewalls using 1 5/8 inch drywall screws. Pre-drill to ensure the wood does not split. Use screws about every 6-8 inches.
I used 3/4 inch melamine for the base and 3/4 inch plywood for the sidewalls. You can use any type of 3/4 inch plywood when doing a trowel finish on the concrete top. I’d recommend using all melamine when building a concrete top using the reverse cast technique.
Cut Re-enforcement to size
Use a bolt cutters to cut the re-enforcement down to size. You can buy 4×8 sheets of re-enforcement at Home Depot for about $9. Cut the re-enforcement about 2 inches shorter than the overall dimensions of the mold. Since my concrete mold is 48 x 36 I cut the re-enforcment to 46 x 34. This ensures you will not have metal sticking out of your finished piece.
Mix up the concrete!
Mix your concrete in a large plastic tub. Mix the concrete to about a peanut butter consistency. Simply add water to the mix as noted in the manufacturers instructions. If the mix gets to runny you can always add more concrete to dry it out. I mix a max of two bags at a time.
Fill the mold
Add concrete to the mold. An ice cream bucket works great for this process. When creating a concrete table using the “pour in place” / right side up technique you’ll want to fill it up about half way full or a little less than halfway full before adding the re-enforcement. Pack the concrete into all corners using your hands.
Add the re-enforcement
Place the re-enforcement in the mold. Make sure it is centered and flat so metal does not stick out of your finished piece. You’ll also want to place it in the concrete when the mold is half filled to prevent shadowing from occurring. Fill the mold and then screed
Continue packing concrete into the mold until it is about level with the top. Then use a 2×4 to level off or screed the concrete. Move it back and forth in a saw like motion. Do this multiple times until the concrete is perfectly level. Fill in low spots as needed.
Smooth the Concrete
Use a trowel to smooth out the concrete. You could also use a float to help bring more of the concrete cream (portland cement) to the top. Let the concrete cure.
Lightly sand the concrete
Use 120 or 220 grit sandpaper to remove the rough edges from the table. I also lightly sanded the top surface using 220 grit sandpaper to smooth the table out a bit. Flip
Sand
Use an orbital sander to sand and smooth out the edges. It will smooth out the slurry you added.
Gather and mix up acid stain
The acid stain I used for this project is from Quikrete. I’d like to thank Chad from Quikrete for supplying all the acid staining products for this project. I used their English Red and Coffee etching stains. Quikrete stains can be found in select Lowe’s and Home Depots across the country. However, many do not stock it and I couldn’t find a link online.
Stain the concrete!
Fill acid resistant plastic spray bottles with the stain. You may want to dilute the stain with water according to the manufacturers directions. I put english red stain in one bottle and a coffee colored stain in the other.
Neutralize the acid stain
Fill a bucket with water and either baking soda or ammonia. Pour the neutralizing mixture on the concrete. This will stop all reactions from continuing.
Seal the concrete
We used an acrylic based concrete sealer from Quikrete to protect and enhance the colors of the acid stained concrete table. It goes on looking somewhat milky, but will dry clear and look great. Dustin applied 3 thin coats of the concrete sealer.
—-
Looking for more DIY videos? Be sure to check out our channel and subscribe for updates! We post a weekly tutorial every Thursday.
Looking for woodworking, concrete working, and other DIY projects plans to follow? You can download plans for free at http://gumroad.com/DIYPETE
Facebook: http://facebook.com/DiyProjectsWithPete
Instagram: http://instagram.com/diypete
Pete Sveen
1627 W Main Street Suite 182
Bozeman, Montana 59715
This company conforms to the market requirement and joins in the market competition by its high quality product, this is an enterprise that have Chinese spirit.