Cheap PriceList for melamine pizza plate to Salt Lake City Importers
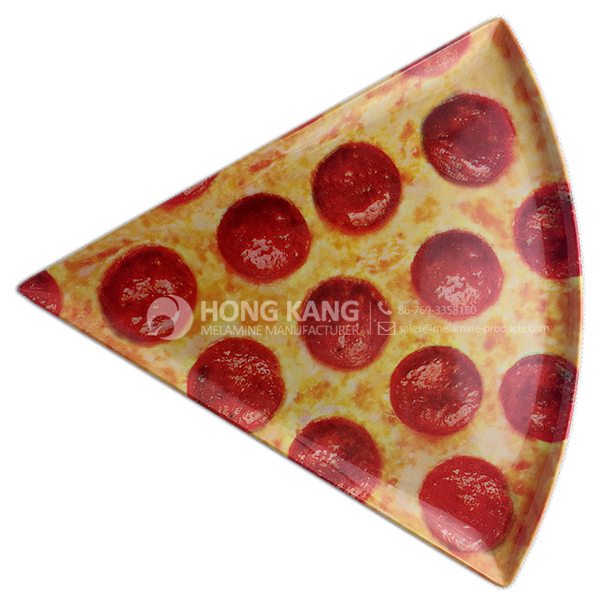
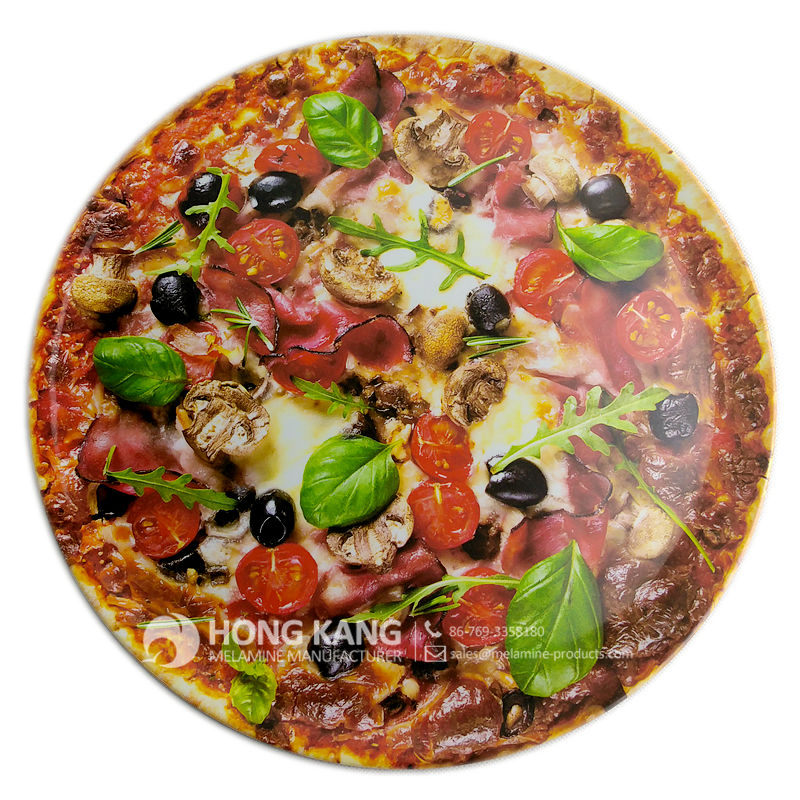
Cheap PriceList for melamine pizza plate to Salt Lake City Importers Detail:
| Specification | |
| Item Name | 9inch Melamine Pizza Plate |
| Item No. | PT180 |
| Shape | Triangle |
| Body Color | White |
| Decal Color | 4 colors print |
| Finish | Glossy |
| Style | Fashion |
| Motif Design | Customized |
| Shape Design | OEM/ODM |
| Test Standard | FDA,PROP 65,EN71,LFGB etc. by SGS or ITS |
| Packaging | 12pcs/box,96pcs/carton |
| Dimensions | |
| Length | 22.3 cm |
| Width | 22.3 cm |
| Height | 1 cm |
| Capacity | N/A |
| Material | |
| Body Material | 100%melamine |
| Decal Material (if need) | 4 colors print (CMYK), or spot color printing, RoHS certificate |
| Imprint (if need) | Seiko ink type 1000 or other type, RoHS certificate |
| Accessories Information | |
| Lid included | No |
| Other | No |
| Weights | |
| Net Weight (kg) | 10 |
| Shipping Weight (kg) | 11.3 |
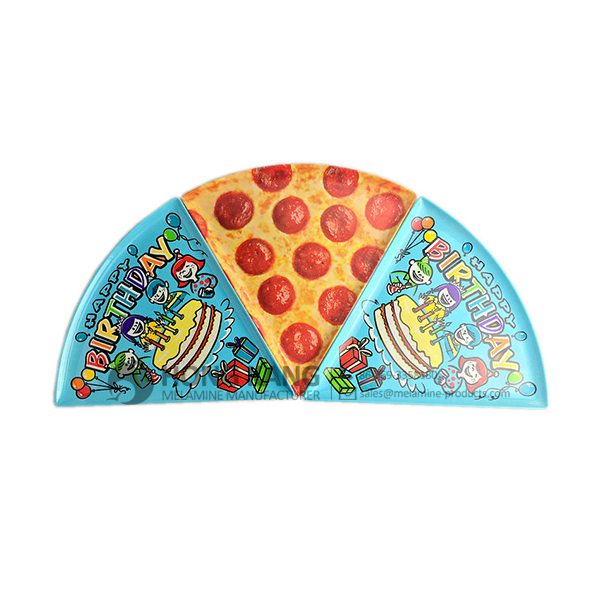
Product detail pictures:
Related Product Guide:
Top Ten Power Toothbrushes
The Benefits Of Using Silicone Kitchen Utensils
To become the stage of realizing dreams of our employees! To build a happier, much more united and far more professional team! To reach a mutual profit of our clients, suppliers, the society and ourselves for Cheap PriceList for melamine pizza plate to Salt Lake City Importers, The product will supply to all over the world, such as: Sri Lanka , Venezuela , Hungary , With the advanced workshop, professional design team and strict quality control system, based on mid- to high-end marked as our marketing positioning, our products are fast selling onto European and American markets with our own brands such as below Deniya, Qingsiya and Yisilanya.
FAQ: 1.Q: Where is your factory located? How can I visit there? A: Our factory is located in Guangdong province, China. Warmly welcome to visit us! 2.Q: What is the material of your products? A: The material is melamine. 3.Q: How can I get some samples? A: We can send the samples by Express/DHL/FedEx/UPS etc. 4.Q: How does your company do regarding quality control? A: We have a very strict QC system. Our inspectors have been closely monitoring the production process from the selection of raw materials to the final step of the finished products. 5.Q: Can you print our logo on the product & packing? A: Yes, We can print your logo on our products. 
| * Do Not Touch On Fire Directly | |
|---|---|
| * Do Not Washing By Steelwire Ball | |
| * Non-Microwave Ovens | |
| * Dishwasher Safe |
WELCOME TO S.K.INDUSTRIES & S.K.ENGINEERS CALL 24X7 CASTUMER CARE 0808130-8899 089235-42268 093199-33241 9456624895 Low Price Machinery For Sale Thermocol Dona-Plate Machine, Disposable Glass Machines, Paper Dona-Plate Machines, Paper Cup Machines, Food Processing Machines, Plastic Product Making Machine, Textile Machineries, Different Pouch Packaging Machines, Mineral Water, Note Book Making Machine, Melamine Crockery Machine, Interlocking Machine, Candle Machine, Bakery Machines 2000 Machines Etc.…@34,999/Onwards
0% Finance
Free Training/Marketing Agreements & up to 25% off
Apna Full Name-Address, Email.id Sms Kre. NAVED AHMED (MANAGING DIRECTOR)
S. K. INDUSTRIES
102 GARDEN CITY NEAR AKASH TOVER ALMADINA HOSPITEL
OPP HDFC BANK PAWAN VIHAR COLONY GATE ,BISALPUR CHAURAHA,
UNIVERCITY ROAD
BAREILLY (U.P) WEBSIDE LOGIN KAREY www.skengineers.info , www.smallscaleindustries.in email karey skengineersbly@gmail.com CALL NAVED AHMED 08755011715 AYAZ 07037593408 SUMIT 07037593408 MUMTAZ 07037593218 CALL TIME 10 AM TO 6 PM N HOTEL YA TAXE AUTORIKSHA KE ENQUIRE KE LIA HAME BAREILLY ROADWAYS YA RAILWAY STATION SE HAME CALL / SMS / WHATSAPP KAREY MOBILE NO 09412292815 08755011715 08410085551 09319933241
 By Rita
from Venezuela
- 2015.09.29 17:23
By Rita
from Venezuela
- 2015.09.29 17:23
This supplier offers high quality but low price products, it is really a nice manufacturer and business partner.
By Jill
from Danish
- 2015.07.27 12:26