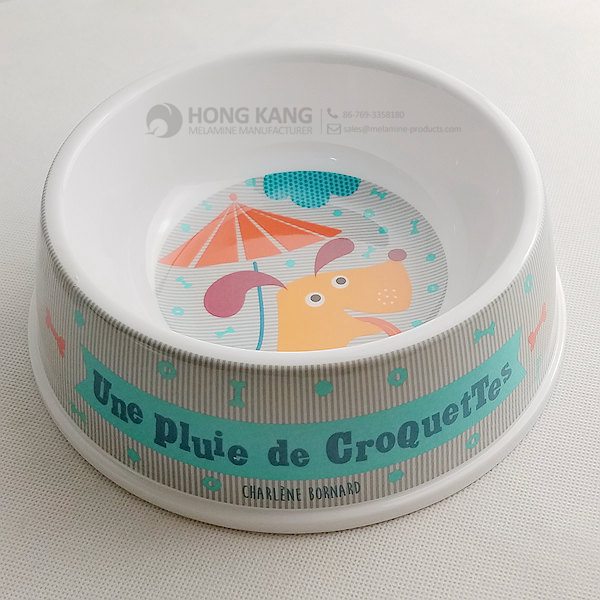
Hot-selling attractive price melamine cat bowl for Albania Factory
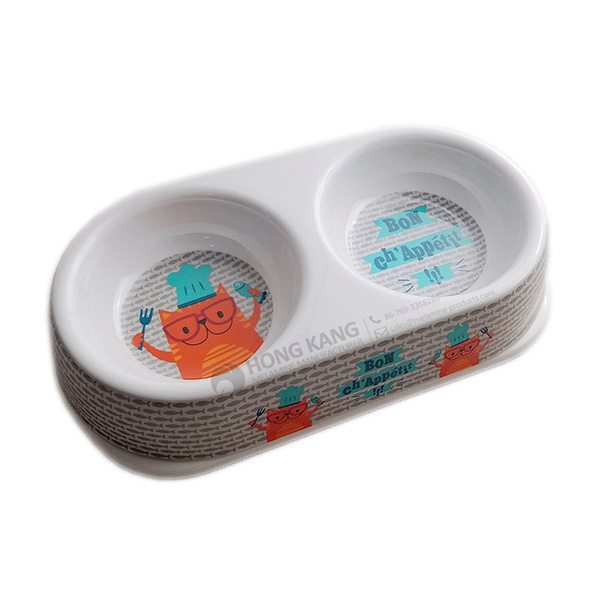
Hot-selling attractive price melamine cat bowl for Albania Factory Detail:
| Specification | |
| Item Name | 9inch Melamine Cat Bowl |
| Item No. | PE019 |
| Shape | Round |
| Body Color | White |
| Decal Color | 4 colors print (if need) |
| Finish | Glossy |
| Style | Fashion |
| Motif Design | Customized |
| Shape Design | OEM/ODM |
| Test Standard | FDA,PROP 65,EN71,LFGB etc. by SGS or ITS |
| Packaging | 6pcs/box,48pcs/carton |
| Dimensions | |
| Length | 22.5 cm |
| Width | 11.5 cm |
| Height | 4.5 cm |
| Capacity | N/A |
| Material | |
| Body Material | 100%melamine |
| Decal Material (if need) | 4 colors print (CMYK), or spot color printing, RoHS certificate |
| Imprint (if need) | Seiko ink type 1000 or other type, RoHS certificate |
| Accessories Information | |
| Lid included | No |
| Other | No |
| Weights | |
| Net Weight (kg) | 9.6 |
| Shipping Weight (kg) | 10.8 |
Product detail pictures:
Related Product Guide:
Affordable Types of Dinnerware Sets
Top Ten Power Toothbrushes
We emphasize enhancement and introduce new solutions into the market just about every year for Hot-selling attractive price melamine cat bowl for Albania Factory, The product will supply to all over the world, such as: Uzbekistan , Plymouth , Luxemburg , Our R&D department always designs with new fashion ideas so we could introduce up-to-date fashion styles every month. Our strict production management systems always ensure stable and high quality products. Our trade team provides timely and efficient services. If there are any interest and inquiry about our products, please contact us in time. We would like to establish a business relationship with your honored company.
FAQ: 1.Q: Where is your factory located? How can I visit there? A: Our factory is located in Guangdong province, China. Warmly welcome to visit us! 2.Q: What is the material of your products? A: The material is melamine. 3.Q: How can I get some samples? A: We can send the samples by Express/DHL/FedEx/UPS etc. 4.Q: How does your company do regarding quality control? A: We have a very strict QC system. Our inspectors have been closely monitoring the production process from the selection of raw materials to the final step of the finished products. 5.Q: Can you print our logo on the product & packing? A: Yes, We can print your logo on our products. 
| * Do Not Touch On Fire Directly | |
|---|---|
| * Do Not Washing By Steelwire Ball | |
| * Non-Microwave Ovens | |
| * Dishwasher Safe |
A presentation is enhanced by the use of writing text, drawing diagrams and even freehand doodles. The ability to write, erase and re-write information is now a central part to group meetings. Bi-Office has created the widest range of user friendly products that bring life into your meetings, lessons, conferences and training sessions.
The factory technical staff not only have high level of technology, their English level is also very good, this is a great help to technology communication.