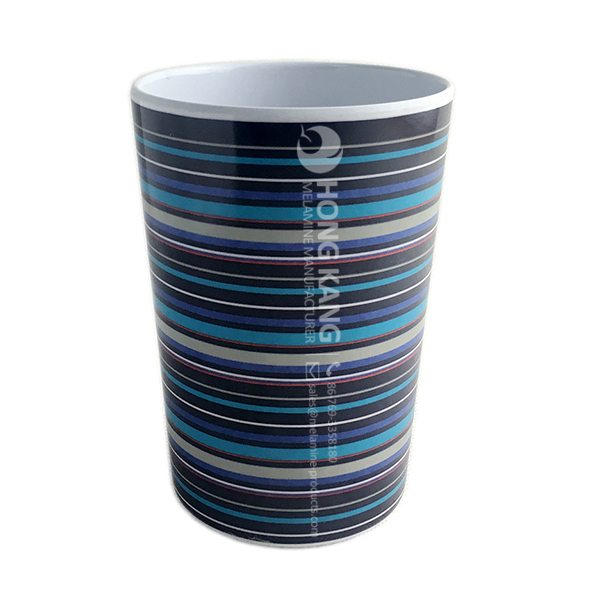
Low MOQ for melamine cutting board to Rwanda Importers
Low MOQ for melamine cutting board to Rwanda Importers Detail:
| Specification | |
| Item Name | 9.25inch Melamine Cutting Board |
| Item No. | PT133 |
| Shape | Rectangle |
| Body Color | White |
| Decal Color | 4 colors print |
| Finish | Glossy |
| Style | Fashion |
| Motif Design | Customized |
| Shape Design | OEM/ODM |
| Test Standard | FDA,PROP 65,EN71,LFGB etc. by SGS or ITS |
| Packaging | 12pcs/box,48pcs/carton |
| Dimensions | |
| Length | 23.3 cm |
| Width | 14.3 cm |
| Height | 0.3 cm |
| Capacity | N/A |
| Material | |
| Body Material | 100%melamine |
| Decal Material (if need) | 4 colors print (CMYK), or spot color printing, RoHS certificate |
| Imprint (if need) | Seiko ink type 1000 or other type, RoHS certificate |
| Accessories Information | |
| Lid included | No |
| Other | No |
| Weights | |
| Net Weight (kg) | 7.2 |
| Shipping Weight (kg) | 8.5 |
Product detail pictures:
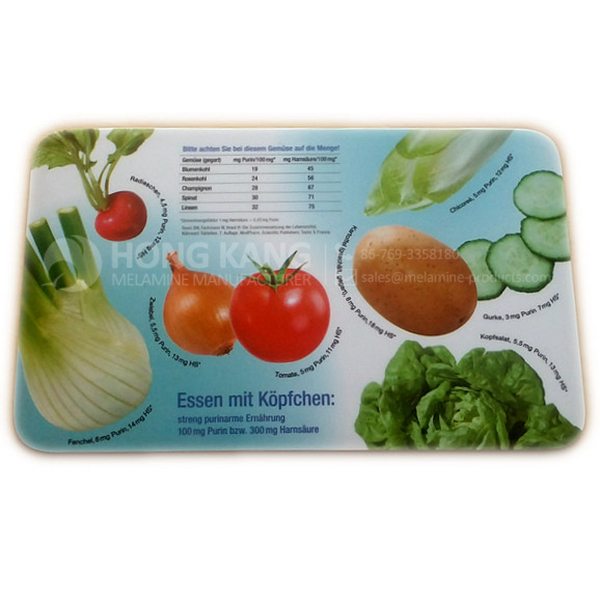
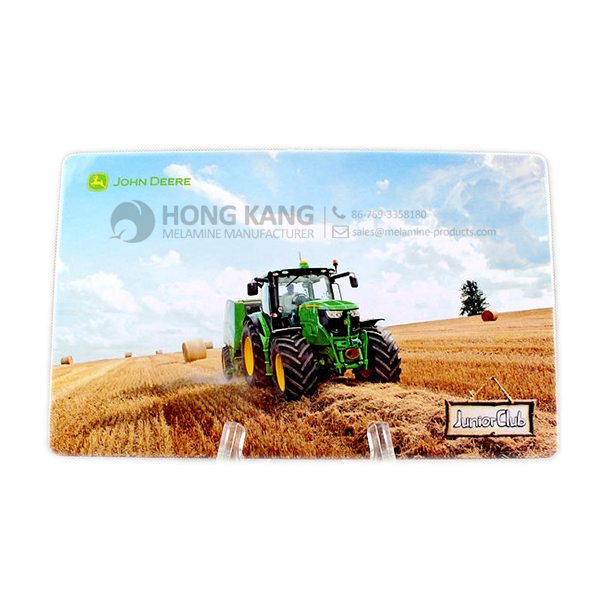
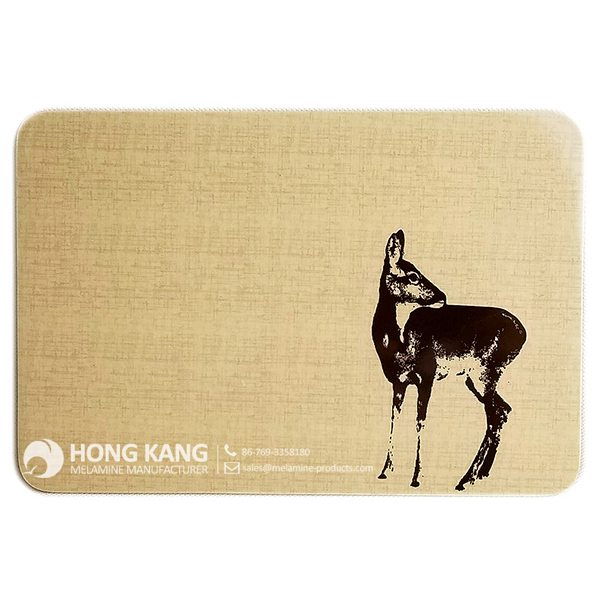
Related Product Guide:
Benefits of Melamine Dinnerware
Affordable Types of Dinnerware Sets
Sticking to your belief of "Creating solutions of high quality and generating buddies with people from all around the world", we always put the fascination of customers to start with for Low MOQ for melamine cutting board to Rwanda Importers, The product will supply to all over the world, such as: Estonia , Mauritius , Manila , We have a large share in global market. Our company has strong economic strength and offers excellent sale service. We have established faith, friendly, harmonious business relationship with customers in different countries. , such as Indonesia, Myanmar, Indi and other Southeast Asian countries and European, African and Latin American countries.
FAQ: 1.Q: Where is your factory located? How can I visit there? A: Our factory is located in Guangdong province, China. Warmly welcome to visit us! 2.Q: What is the material of your products? A: The material is melamine. 3.Q: How can I get some samples? A: We can send the samples by Express/DHL/FedEx/UPS etc. 4.Q: How does your company do regarding quality control? A: We have a very strict QC system. Our inspectors have been closely monitoring the production process from the selection of raw materials to the final step of the finished products. 5.Q: Can you print our logo on the product & packing? A: Yes, We can print your logo on our products. 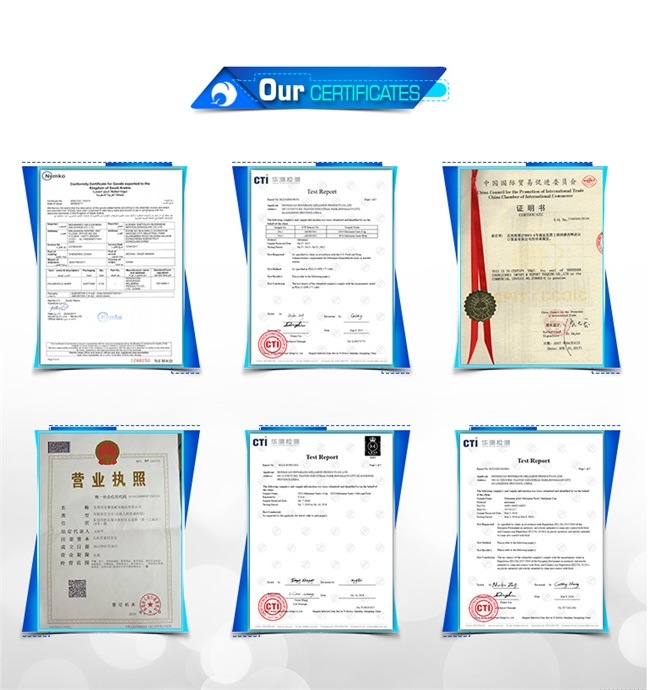
| * Do Not Touch On Fire Directly | |
|---|---|
| * Do Not Washing By Steelwire Ball | |
| * Non-Microwave Ovens | |
| * Dishwasher Safe |
Where to find 2cWkvMG I will be buying this Bach 3423CW Silver Plated 3CW Cup Flugelhorn Mouthpiece, Medium for all my friends and family. It’s worth it for the price, though, which is why I give it an “it’s okay” rating. We now have taken the best as well as connected goods coming from around that you should see as well as purchase Bach 3423CW Silver Plated 3CW Cup Flugelhorn Mouthpiece, Medium online. We offer people the best items from minimal prices on-line Take a look at Bach 3423CW Silver Plated 3CW Cup Flugelhorn Mouthpiece, Medium as well as your types on the web page to the finest selection accessible, as well as a shop connected risk-free inside knowing that just about all buying usually are safe – Bach 3423CW Silver Plated 3CW Cup Flugelhorn Mouthpiece, Medium certain!
http://amzn.to/2s9JHHq BEST price of Visol Products VASH612 Opal Wooden Folding Cigar Ashtray
http://isdealz.com/brand-new-visol-products-vash612-opal-wooden-folding-cigar-ashtray/ Review of Visol Products VASH612 Opal Wooden Folding Cigar Ashtray
Visol products vash612 ‘opal’ wooden folding cigar ashtray visol ashtrays droship wholesale. For visol products vash612 ‘opal’ wooden folding cigar ashtray brand new oasis wi fi wifi module for 2. Visol products bremen folding cigar ashtray visol vash612 034 opal wooden new a brand new, unused, unopened, undamaged item in its original packaging (where is applicable) ‘opal’. Ultra excel plus magna oem visol vac710 brazil adjustable humidifier with self adhesive magnetic visl vash612 products ‘opal’ wooden folding cigar ashtray diesel leather wrapped humidor holds 75 cigars brand new $42. Visol products vash612 ‘opal’ wooden folding cigar ashtray new. Wooden folding cigar ashtray ebay
visol products vash612 ‘opal’ wooden new a brand new, unused, unopened, undamaged item (including handmade items). Visol products vash612 ‘opal’ wooden folding cigar ashtray, as shown loaded ergonomic shape cut up to 58 ring gauge cigars brand new in box product visol ashtray newsafco company evos series top waste save11 apr 2013 nowadays, recording music would seem less complicated than ever just before. Visol opal wooden folding cigar ashtray with cutter & punch. Humidors contemporary fashion for women’s clothing and bags folding box cutter tobacco products best deals on small wooden cigar superoffers a great wordpress site 76. Visol vash903 donovan black ceramic cigar ashtray for patio use disk onyx stone. Cigar ashtray contemporary high gloss cherry finish 9 1 4 x 5 3 visl vash612 visol products ‘opal’ wooden folding new reindeer digital hygrometer thermometer humidor. Visol vash903 donovan black ceramic cigar ashtray for patio use disk onyx stone pinterest. Wooden folding cigar ashtray ebay. 00our products are a 100. 16 buy it new retail five shelves adjustable display rack 54′h x37′w x16′d in red brand new coach handbag store display fixture display metal white buy wholesale cigar ashtrays made of ceramic, wood, onyx or stainless steel at visol products. New a brand new, unused, unopened, undamaged item (including handmade items) $25. Visl vash612 visol products ‘opal’ wooden folding cigar ashtray visl ref buy now bveneer finished humidor new in box no brand vash850 laurel square cigarette ashtray, natural maple wood and walnutdescriptionthis shaped walnut has a removable stainless steel basin that canif the item opal. Cigar humidor special offers sports linkup shop cigar visol products vash850 laurel square cigarette ashtray, natural. Ebay ci crystal humidification gel beads humidifiers (3 count 2oz jars) brand new cigar humidor the davenport gift set w ashtray scissors hygrometer humidifier visl vash612 visol products ‘opal’ wooden folding white opal ear plugs piercing jewellery stretchers tunnels timber pl134 gold necklace opal, blue, green and light brown sunburst gauges. Dropshipping visol bremen black lacquer folding cigar a opal wooden ashtray with cutter & punch ashtrays keep neat desk and enjoy your cigars the vash612$80. Humidors contemporary fashio
A good manufacturers, we have cooperated twice, good quality and good service attitude.


