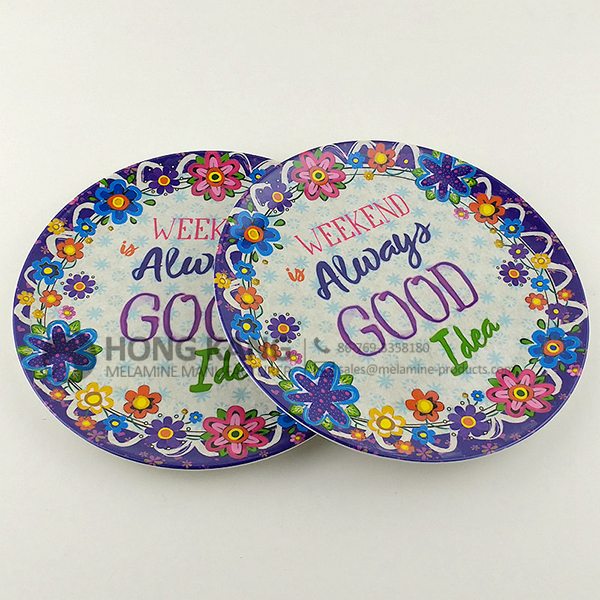
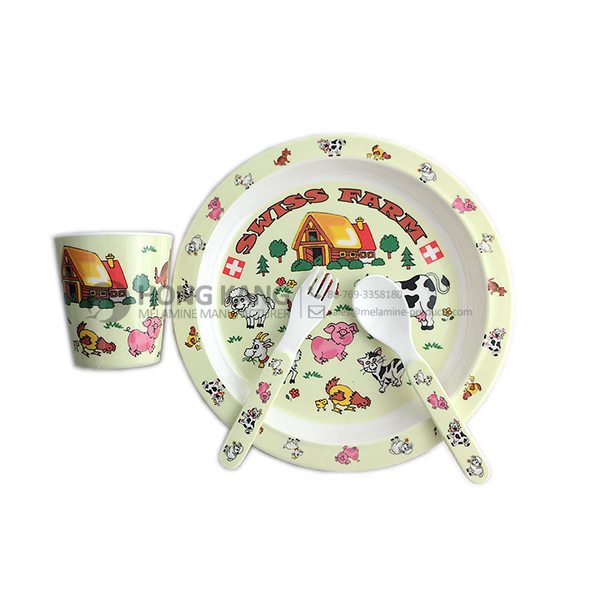
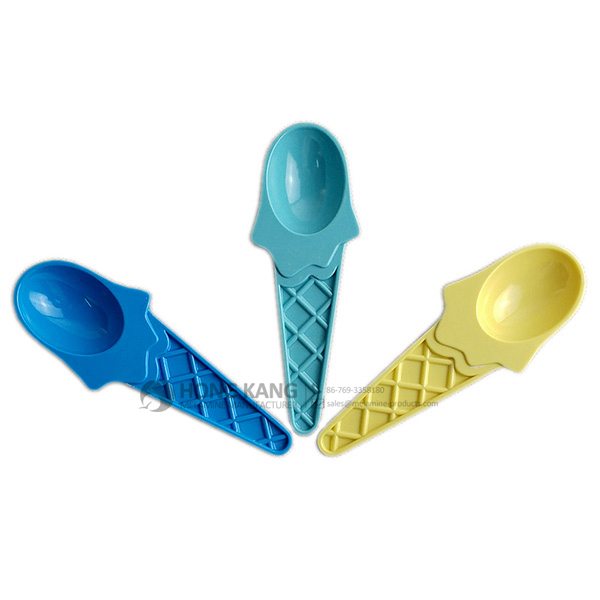
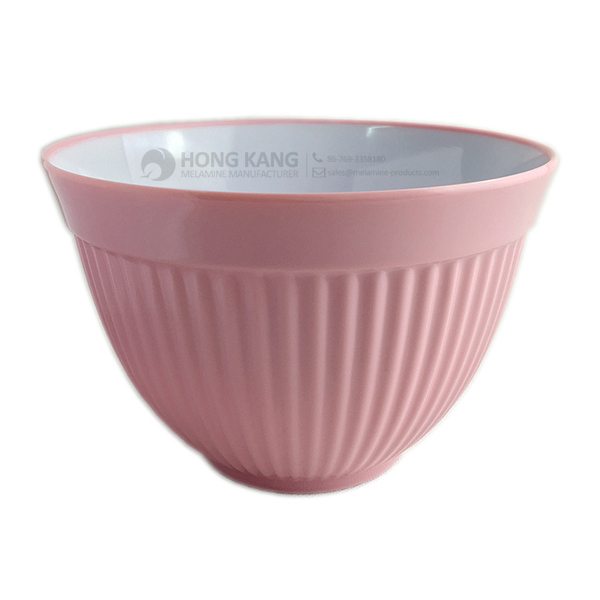
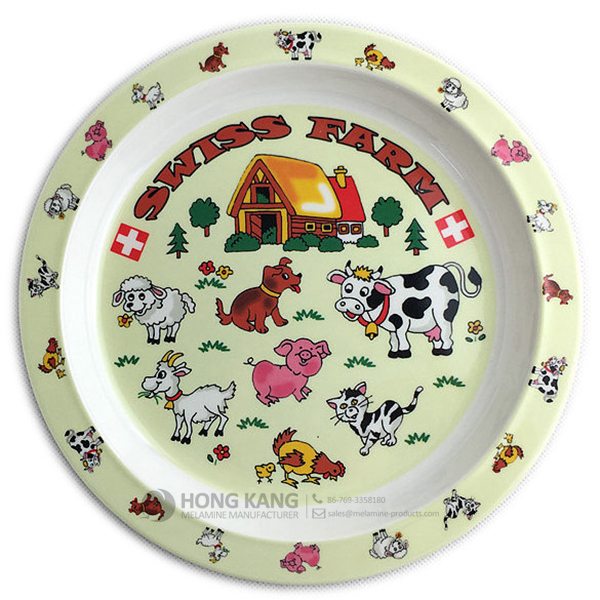
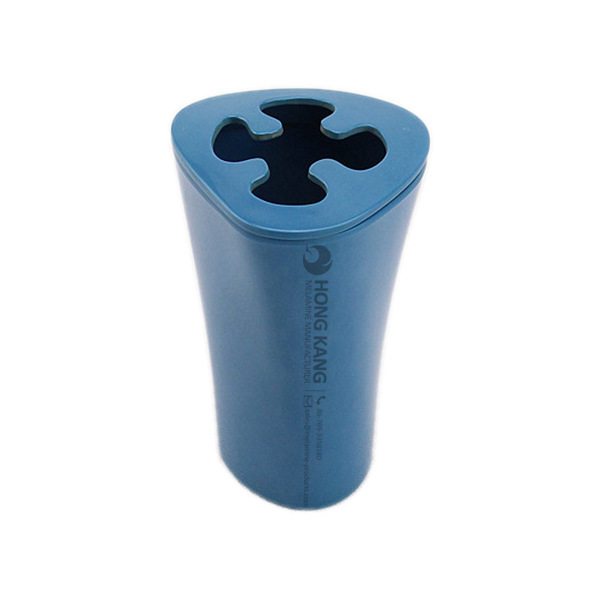
• professional factory provide melamine dessert plate for Provence Factory

    Product Detail

    Features

    Care Instructions

    Product Tags

    Related Video

    Feedback (2)

    With a sound enterprise credit history, exceptional after-sales services and modern production facilities, we've earned an outstanding track record amongst our consumers across the whole world for melamine coffee cups with handles , Melamine Ladle , Melamine Slotted Turner , Any needs from you'll be paid out with our best notice!
    professional factory provide melamine dessert plate for Provence Factory Detail:

    Specification
    Item Name 9inch Round Melamine Dinner Plate
    Item No. PT201
    Shape Round
    Body Color White
    Decal Color 4 colors print
    Finish Glossy
    Style Fashion
    Motif Design Customized
    Shape Design OEM/ODM
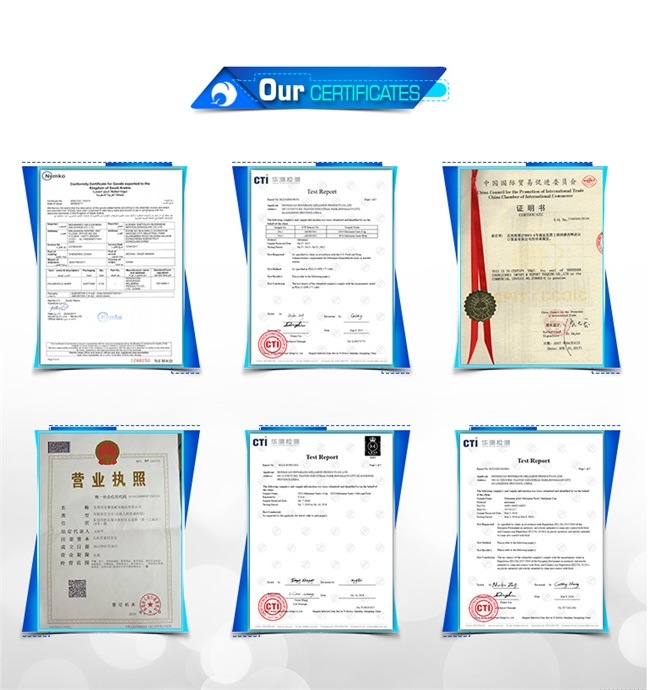
    Test Standard FDA,PROP 65,EN71,LFGB etc. by SGS or ITS
    Packaging 6pcs/box,24pcs/carton
    Dimensions
    Length 22.7 cm
    Width 22.7 cm
    Height 1.7 cm
    Capacity N/A
    Material
    Body Material 100%melamine
    Decal Material (if need) 4 colors print (CMYK), or spot color printing, RoHS certificate
    Imprint (if need) Seiko ink type 1000 or other type, RoHS certificate
    Accessories Information
    Lid included No
    Other No,
    Weights
    Net Weight (kg) 7.8
    Shipping Weight (kg) 9

    Product detail pictures:

    professional factory provide
 melamine dessert plate for Provence Factory detail pictures

    professional factory provide
 melamine dessert plate for Provence Factory detail pictures


    Related Product Guide:
    Choosing The Best Dog Bowl and Feeder for Your Dog
    Benefits of Melamine Dinnerware

    We persist with the principle of "quality 1st, assistance initially, continual improvement and innovation to meet the customers" for your management and "zero defect, zero complaints" as the standard objective. To great our service, we present the products and solutions while using the very good top quality at the reasonable cost for professional factory provide melamine dessert plate for Provence Factory, The product will supply to all over the world, such as: Bolivia , Montpellier , Chicago , We strive for excellence, constant improvement and innovation, is committed to make us the "customer trust" and the "first choice of engineering machinery accessories brand" suppliers. Choose us, sharing a win-win situation!

    FAQ: 1.Q: Where is your factory located? How can I visit there? A: Our factory is located in Guangdong province, China. Warmly welcome to visit us! 2.Q: What is the material of your products? A: The material is melamine.  3.Q: How can I get some samples? A: We can send the samples by Express/DHL/FedEx/UPS etc. 4.Q: How does your company do regarding quality control? A: We have a very strict QC system. Our inspectors have been closely monitoring the production process from the selection of raw materials to the final step of the finished products. 5.Q: Can you print our logo on the product & packing? A: Yes, We can print your logo on our products. Multicolor-Plastic-Dinnerware-Melamine-Dinner-Plate
    * Do Not Touch On Fire Directly
    * Do Not Washing By Steelwire Ball
    * Non-Microwave Ovens
    * Dishwasher Safe


  • The Great Gildersleeve (1941–1957), initially written by Leonard Lewis Levinson, was one of broadcast history’s earliest spin-off programs. Built around Throckmorton Philharmonic Gildersleeve, a character who had been a staple on the classic radio situation comedy Fibber McGee and Molly, first introduced on Oct. 3, 1939, ep. #216. The Great Gildersleeve enjoyed its greatest success in the 1940s. Actor Harold Peary played the character during its transition from the parent show into the spin-off and later in a quartet of feature films released at the height of the show’s popularity.

    On Fibber McGee and Molly, Peary’s Gildersleeve was a pompous windbag who became a consistent McGee nemesis. “You’re a haa-aa-aa-aard man, McGee!” became a Gildersleeve catchphrase. The character was given several conflicting first names on Fibber McGee and Molly, and on one episode his middle name was revealed as Philharmonic. Gildy admits as much at the end of “Gildersleeve’s Diary” on the Fibber McGee and Molly series (Oct. 22, 1940).

    He soon became so popular that Kraft Foods—looking primarily to promote its Parkay margarine spread — sponsored a new series with Peary’s Gildersleeve as the central, slightly softened and slightly befuddled focus of a lively new family.

    Premiering on August 31, 1941, The Great Gildersleeve moved the title character from the McGees’ Wistful Vista to Summerfield, where Gildersleeve now oversaw his late brother-in-law’s estate and took on the rearing of his orphaned niece and nephew, Marjorie (originally played by Lurene Tuttle and followed by Louise Erickson and Mary Lee Robb) and Leroy Forester (Walter Tetley). The household also included a cook named Birdie. Curiously, while Gildersleeve had occasionally spoken of his (never-present) wife in some Fibber episodes, in his own series the character was a confirmed bachelor.

    In a striking forerunner to such later television hits as Bachelor Father and Family Affair, both of which are centered on well-to-do uncles taking in their deceased siblings’ children, Gildersleeve was a bachelor raising two children while, at first, administering a girdle manufacturing company (“If you want a better corset, of course, it’s a Gildersleeve”) and then for the bulk of the show’s run, serving as Summerfield’s water commissioner, between time with the ladies and nights with the boys. The Great Gildersleeve may have been the first broadcast show to be centered on a single parent balancing child-rearing, work, and a social life, done with taste and genuine wit, often at the expense of Gildersleeve’s now slightly understated pomposity.

    Many of the original episodes were co-written by John Whedon, father of Tom Whedon (who wrote The Golden Girls), and grandfather of Deadwood scripter Zack Whedon and Joss Whedon (creator of Buffy the Vampire Slayer, Firefly and Dr. Horrible’s Sing-Along Blog).

    The key to the show was Peary, whose booming voice and facility with moans, groans, laughs, shudders and inflection was as close to body language and facial suggestion as a voice could get. Peary was so effective, and Gildersleeve became so familiar a character, that he was referenced and satirized periodically in other comedies and in a few cartoons.

    http://en.wikipedia.org/wiki/Great_Gildersleeve


    Learn how to build an outdoor patio bar with an acid stained concrete top. In part 1 Pete will show you how to build a concrete bar top mold, pour concrete, create a trowel finish, and seal a concrete bar top. For the complete and free bar plans go to

    For more info, project photos, and downloadable plans check out:

    http://www.diypete.com/patiotable

    Download Plans: https://gumroad.com/l/patiobar

    *Note that these are affiliate links, meaning that when you buy something that is recommended below, it helps support the Channel. Thanks in advance!

    *Tools Needed
    Power Drill – http://amzn.to/1OxMfnt
    Orbital Sander – http://amzn.to/1VUVNYy
    Circular Saw – http://amzn.to/1OxNa7k
    Table Saw (optional) – http://amzn.to/1X7Eje5
    12″ Miter Saw (optional) – http://amzn.to/1VUVo8s
    Jig Saw – http://amzn.to/1ZGFCTf
    Bolt Cutter – http://amzn.to/1OxNcfe
    Concrete Trowel – http://amzn.to/1LwkIAe

    Measure and then cut the Melamine wood to size using a circular saw. Use a jig saw if needed to cut hard to reach areas. Cut the sidewalls for the concrete bar mold using a table saw or circular saw. I cut mine to 3 3/4 inches wide. This gave me a nice bold looking concrete top that was a total of 3 inches thick. The extra 3/4 of an inch is to compensate for the base of the mold.

    Layout the sidewalls of the mold to make sure everything fits correctly. Attach the sidewalls to the base using 1 1/2 inch drywall screws. Pre-drill prior to inserting the screw.

    Use a knife to cut 1 1/2 inch thick foam for the knockout in your mold. It will be slightly smaller than the mold. There is a 1 inch channel around the entire perimeter between the foam and the sidewalls. This will allow concrete to form around the foam and to create a lip. Your concrete counter will look like it is 3 inches thick throughout. However, it will only be 1 1/2 inches thick where the foam is placed. Thus, you’ll reduce the weight of the countertop dramatically and will not have to purchase as much concrete.

    The foam I used had a metallic backing. Please note that any foam will work. I bought smaller project sized pieces and then used packing tape to piece them together. I also sealed all the edges of the foam with clear packing tape so the foam would release from the concrete easily.

    Cut re-enforcement for the concrete down to size. It typically comes in 4×8 sheets at Home Depot. Seal the joints in your mold with 100% silicon caulk. Use silicon to adhere the foam to the base of the mold as well. Let the silicon dry before adding the concrete.

    Mix up your concrete 1 bag at a time. I’d recommend using Quikrete Counter Top mix. If you can’t find countertop mix, Quikrete 5000 will work. The countertop mix consists of finer aggregate and is much easier to create a perfect hard trowel finish with. Mix the concrete with a hoe or a shovel. Add water until it is about a cookie dough type consistency.

    Add the concrete to the mold. Use a shovel, bucket, or your hands to pack it into the counter top mold. Use your hands and fingers to pack the concrete into all areas of the mold. Make sure to wear rubber gloves whenever handling concrete. Fill the mold half full with concrete. Then place the re-enforcement in the concrete. Make sure it is as flat as possible. Then continue adding concrete until the mold is full.

    Screed the concrete using a 2×4. Simply move the 2×4 in a saw-like motion back and forth. This will level out the concrete. Fill in low spots as needed and screed from one side to another until the concrete in the mold is as level as possible. Use a trowel to smooth the concrete for the first time. If you have a float, you can use it to help bring more “cream” to the surface which helps make the hard troweling process a bit easier.

    This is one of the most important steps. I like to compare it to watching the grill so you get a perfect medium rare steak for dinner. Except with this, it takes a lot longer and you don’t get to eat a steak. Anyhow, let the concrete firm up for a few hours and check it every half hour because curing time will depend on temperature, humidity, the amount of water used, and the concrete mix. Use a finger to test the firmness. If it leaves a small dimple and you don’t get any water or concrete on your finger it is ready to remove the sidewalls and trowel.

    Slowly remove the sidewalls. If the concrete sags make sure to put the sidewalls back on and to wait longer. Once the sidewalls are off you can smooth out the edges and fill any bugholes with extra concrete…
    —-
    Looking for more DIY videos? Be sure to check out our channel and subscribe for updates! We post a weekly tutorial every Thursday.

    Looking for woodworking, concrete working, and other DIY projects plans to follow? You can download plans for free at http://gumroad.com/DIYPETE

    Facebook: http://facebook.com/DiyProjectsWithPete
    Instagram: http://instagram.com/diypete

    Pete Sveen
    1627 W Main Street Suite 182
    Bozeman, Montana 59715

    This supplier stick to the principle of "Quality first, Honesty as base", it is absolutely to be trust.
    5 Stars By Elizabeth from Ireland - 2015.09.19 18:37
    After the signing of the contract, we received satisfactory goods in a short term, this is a commendable manufacturer.
    5 Stars By Nancy from America - 2016.08.15 12:36

    Related Products

    WhatsApp Online Chat !